Photo by by AS Photography
Reading & Writing
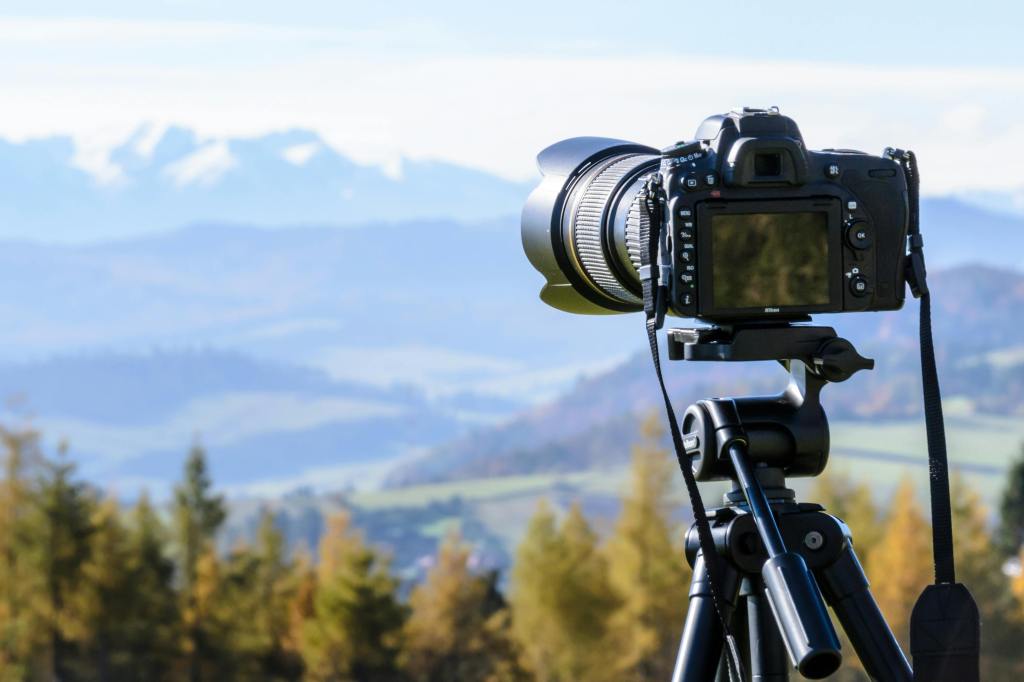
The Bare Bones Camera Course for Film and Video is full of information that will help me in my production efforts. Chapter 1 of the book covers camera basics, which is especially helpful to me as I seem to always find a way to mix up a camera’s settings somehow. Of course, I know that a camera works by gathering light reflected off objects. Author Tom Schroeppel begins the book by saying “The camera is an imperfect imitation of the human eye,” which is completely true. The rest of the chapter covers topics like exposure, lenses, focus, and depth of field – all essential to my filmmaking endeavors.
Chapter 2 covers composition, which I’ll be learning all about during this project. It’s one thing to discuss camera angles and another thing to show people how to use them, and this chapter provides a great basis for me to go capture photos with these compositions. Using techniques like Rule of Thirds, Balance, Angles, Frames, Leading Lines, and more will help me set up great shots for my projects.
Chapters 5 and 6 get into the actual filming. Chapter 5 highlights 3 basic camera moves: zooms, pans, and tilts. Zooms direct attention toward or away from a subject, either making the audience focus on one specific thing or giving them context of a subject’s location. Pans and tilts reveal new information to the viewer by directing the camera horizontally or vertically. Sometimes, using a combination of two camera moves can enhance the shot, like a zoom and a pan/tilt. The author notes that when combining these moves, starting the pan/tilt just before the zoom makes for a better shot. Chapter 6 touches on montages, and how capturing different shots helps with putting together the final project. 2 similar shots back-to-back can confuse the viewer but compiling a variety of shots can create an engaging piece.
One Market Media’s Video Pre-Production Planning Check-list is a great resource to look over before beginning a film project. As someone who’s worked in marketing, I find this process to be somewhat similar to that I go through when, for example, developing a campaign. It’s essential to define your business objective first and foremost, define the target audience, and develop key messages first. When the framework for the project has been created, then you can get into the nitty gritty, like creating outlines and storyboarding. Once the approvals have been made, it’s time to create schedules and plan/go forward with production.
Creately’s article on storyboarding discusses the right way to make a storyboard so your video’s message remains at the forefront of viewers’ minds. A storyboard is “a tool that sketches different (in most cases, critical) scenes in the video you are about to make.” Storyboards help you identify the most important shots in you video so that when it’s time to film, you gather all the pieces necessary to tell your desired story. Sketching key frames and describing the shot is the most important part of storyboarding so that anyone else involved can easily understand your filming objectives.
Research to Inform
The first 5 seconds of this clip is a prime example of Rule of Thirds. Francisco Alvarez is positioned on the right third line, letting the viewer see both the batter and the crowd. When Alvarez hits his walk-off home run (that I was in attendance for!), you can see his reaction as well as the excitement from the crowd. It’s a perfectly framed shot and quite the perfect moment.
This scene from New Girl is extremely powerful because of the storyline, but it also uses great framing to tell the story. In season 2, Nick and Jess (the 2 characters pictured) share their first kiss in that elevator but had an on-and-off relationship in the following seasons. At the end of this episode in season 6, Nick and Jess get back together with a kiss in the same elevator, shown perfectly with this use of framing.
At the beginning of the scene at 0:00, we see a wide/establishing shot of the group at Central Perk. At 0:28 there’s a close-up shot when Monica is introducing Phoebe, and there are several medium shots once Rachel sits down on the couch. These different shots are used within the same scene to provide variety for the viewer and showcase each of the characters because this is the first episode, so they’re really being introduced to the audience as well. This way, the viewers aren’t just staring at the same screen for a full minute or two.
Create
I decided that my filming location would be my neighborhood, West Birchwood. To gain an understanding of the different types of camera shots I’d need to use and to scout my location, I filled out the scavenger hunt sheet. This activity helped me practice my camerawork and note certain locations that would be good for filming. It was also kind of like a trip down memory lane for me, as I was able to remember all sorts of things my family and I would do as a kid throughout my neighborhood.
I thought the process was helpful for practicing my camera shots, but I found it a bit difficult to find locations for these exact shots. I spent a lot of time walking around my neighborhood looking for subjects beyond street signs, but looking back, I now have more ideas of places I can go for the final video montage. It might not be the coolest photo ever, but I think the photo with the water bottle in front of the flowers is my favorite. It’s not the prettiest subject, but the way the photo is framed compared to the wide shot before it looks nice with the lighting and background.
You can look through my scavenger hunt below:
Then, I filled out my Pre-Production Planning Document for my video montage. The most important and time-consuming part was writing the script, as I needed to narrow own my locations and the main idea of my project. While it was time consuming, I found the process helpful in planning my work for the next week.
You can look through my Pre-Production Planning Document here:

Leave a comment